Create your account
Head to propquest.ai/register and sign up with email, Google, or Apple. We verify your email so password resets work later — check spam if the link doesn't land in two minutes.
Once you're in, you'll see the app shell at /app/dashboard. The first-run tour highlights the four surfaces you'll spend the most time on (Search, Lists, Property Reports, Contracts) — skip it the second time around, it doesn't re-show automatically.
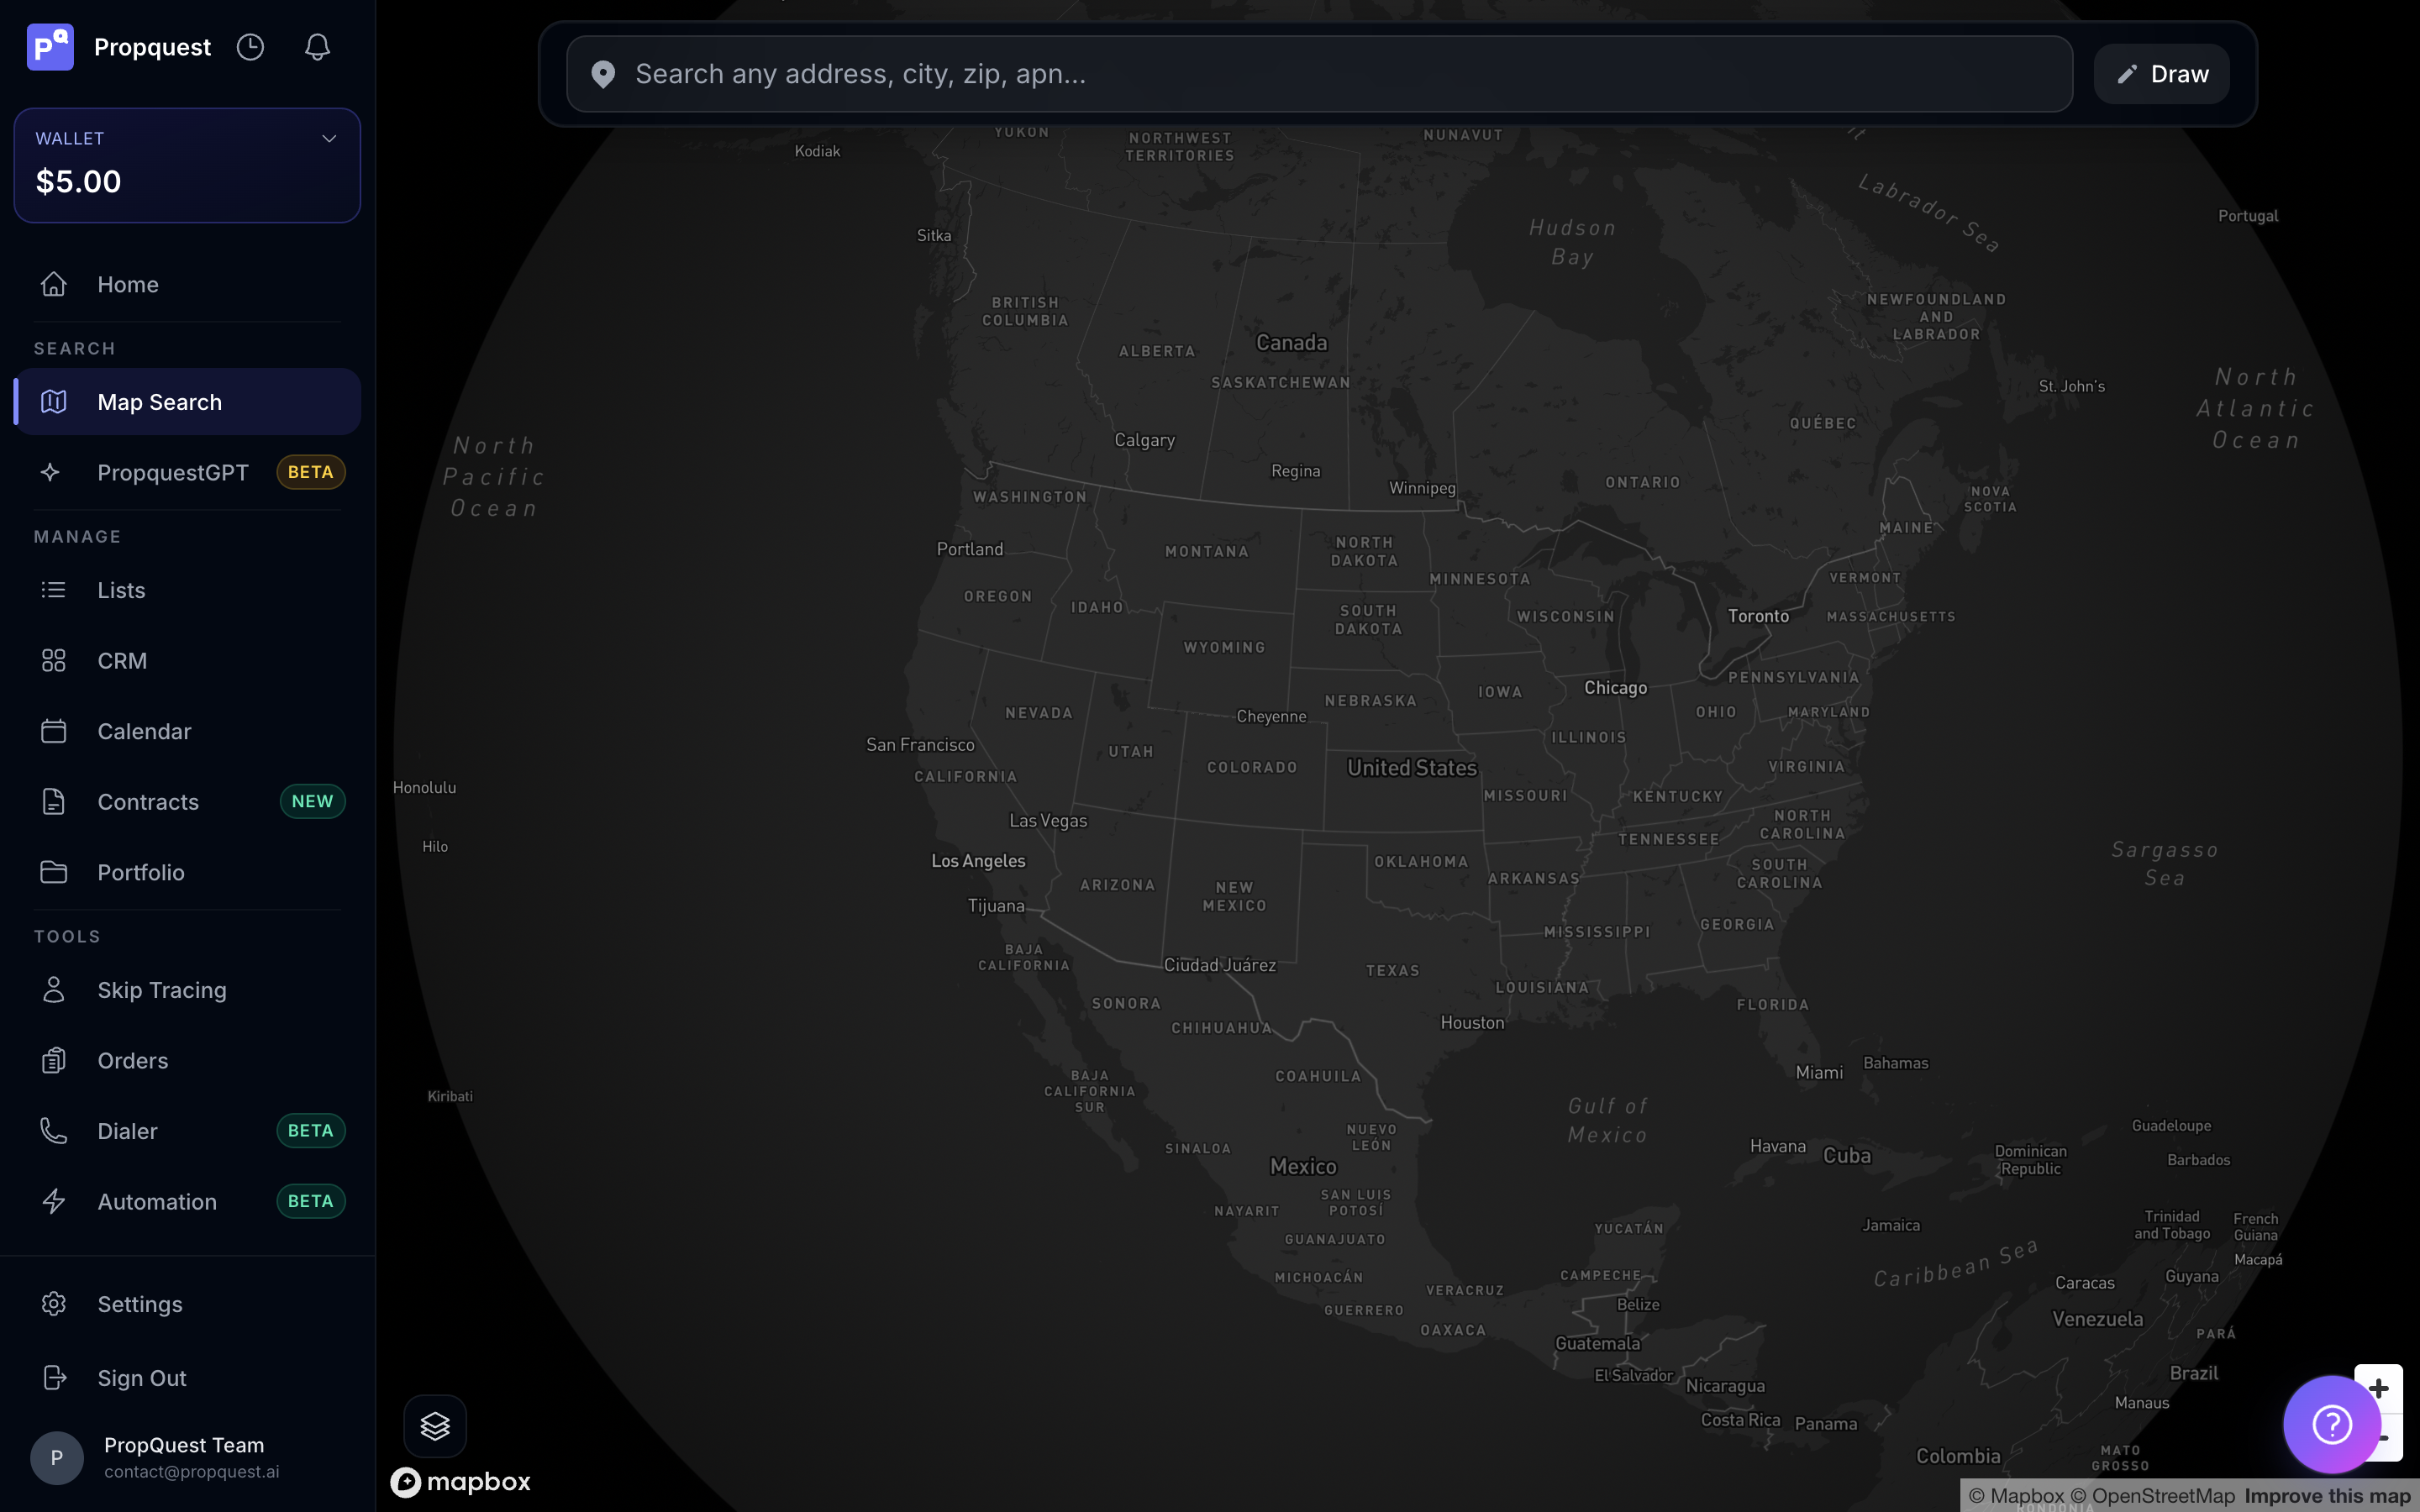
Tour the sidebar
The left sidebar is the only navigation you need to memorize. Top-to-bottom it goes Dashboard → Property Search → Lists → Contacts → Contracts → Dialer → Calendar → Automation → Notes → Wallet.
Everything else (settings, billing, team, integrations) lives under your avatar in the top-right. Two keyboard shortcuts cover 80% of jumps: g s for global search and cmd + k for the command palette.
Pick a plan that fits your volume
There's a free tier so you can kick the tires on search and one full property report. The paid plans unlock unlimited reports, skip-tracing credits, and the LOI / e-sign workflow.
- Starter — solo wholesaler, ~20-50 deals a month
- Pro — full-time investor running multiple lists at once
- Enterprise — teams, shared lists, white-glove onboarding
You can switch plans monthly. If you go up mid-cycle, we prorate. Going down takes effect next billing date. No "talk to sales" upsell for Pro — pick it in the billing page and you're done.
Top up your wallet
Skip-traces, premium AI reports, and certain mailers debit a per-action wallet that's separate from your subscription. Open /app/wallet and add a starter credit pack (100/500/2,000/10,000) — credits never expire and the wallet shows a live ledger of every debit.
Auto-recharge is opt-in: set a threshold ($25 left), pick a top-up size, and we keep the wallet warm so a Sunday-night batch trace doesn't stall waiting on payment.
Build your first list
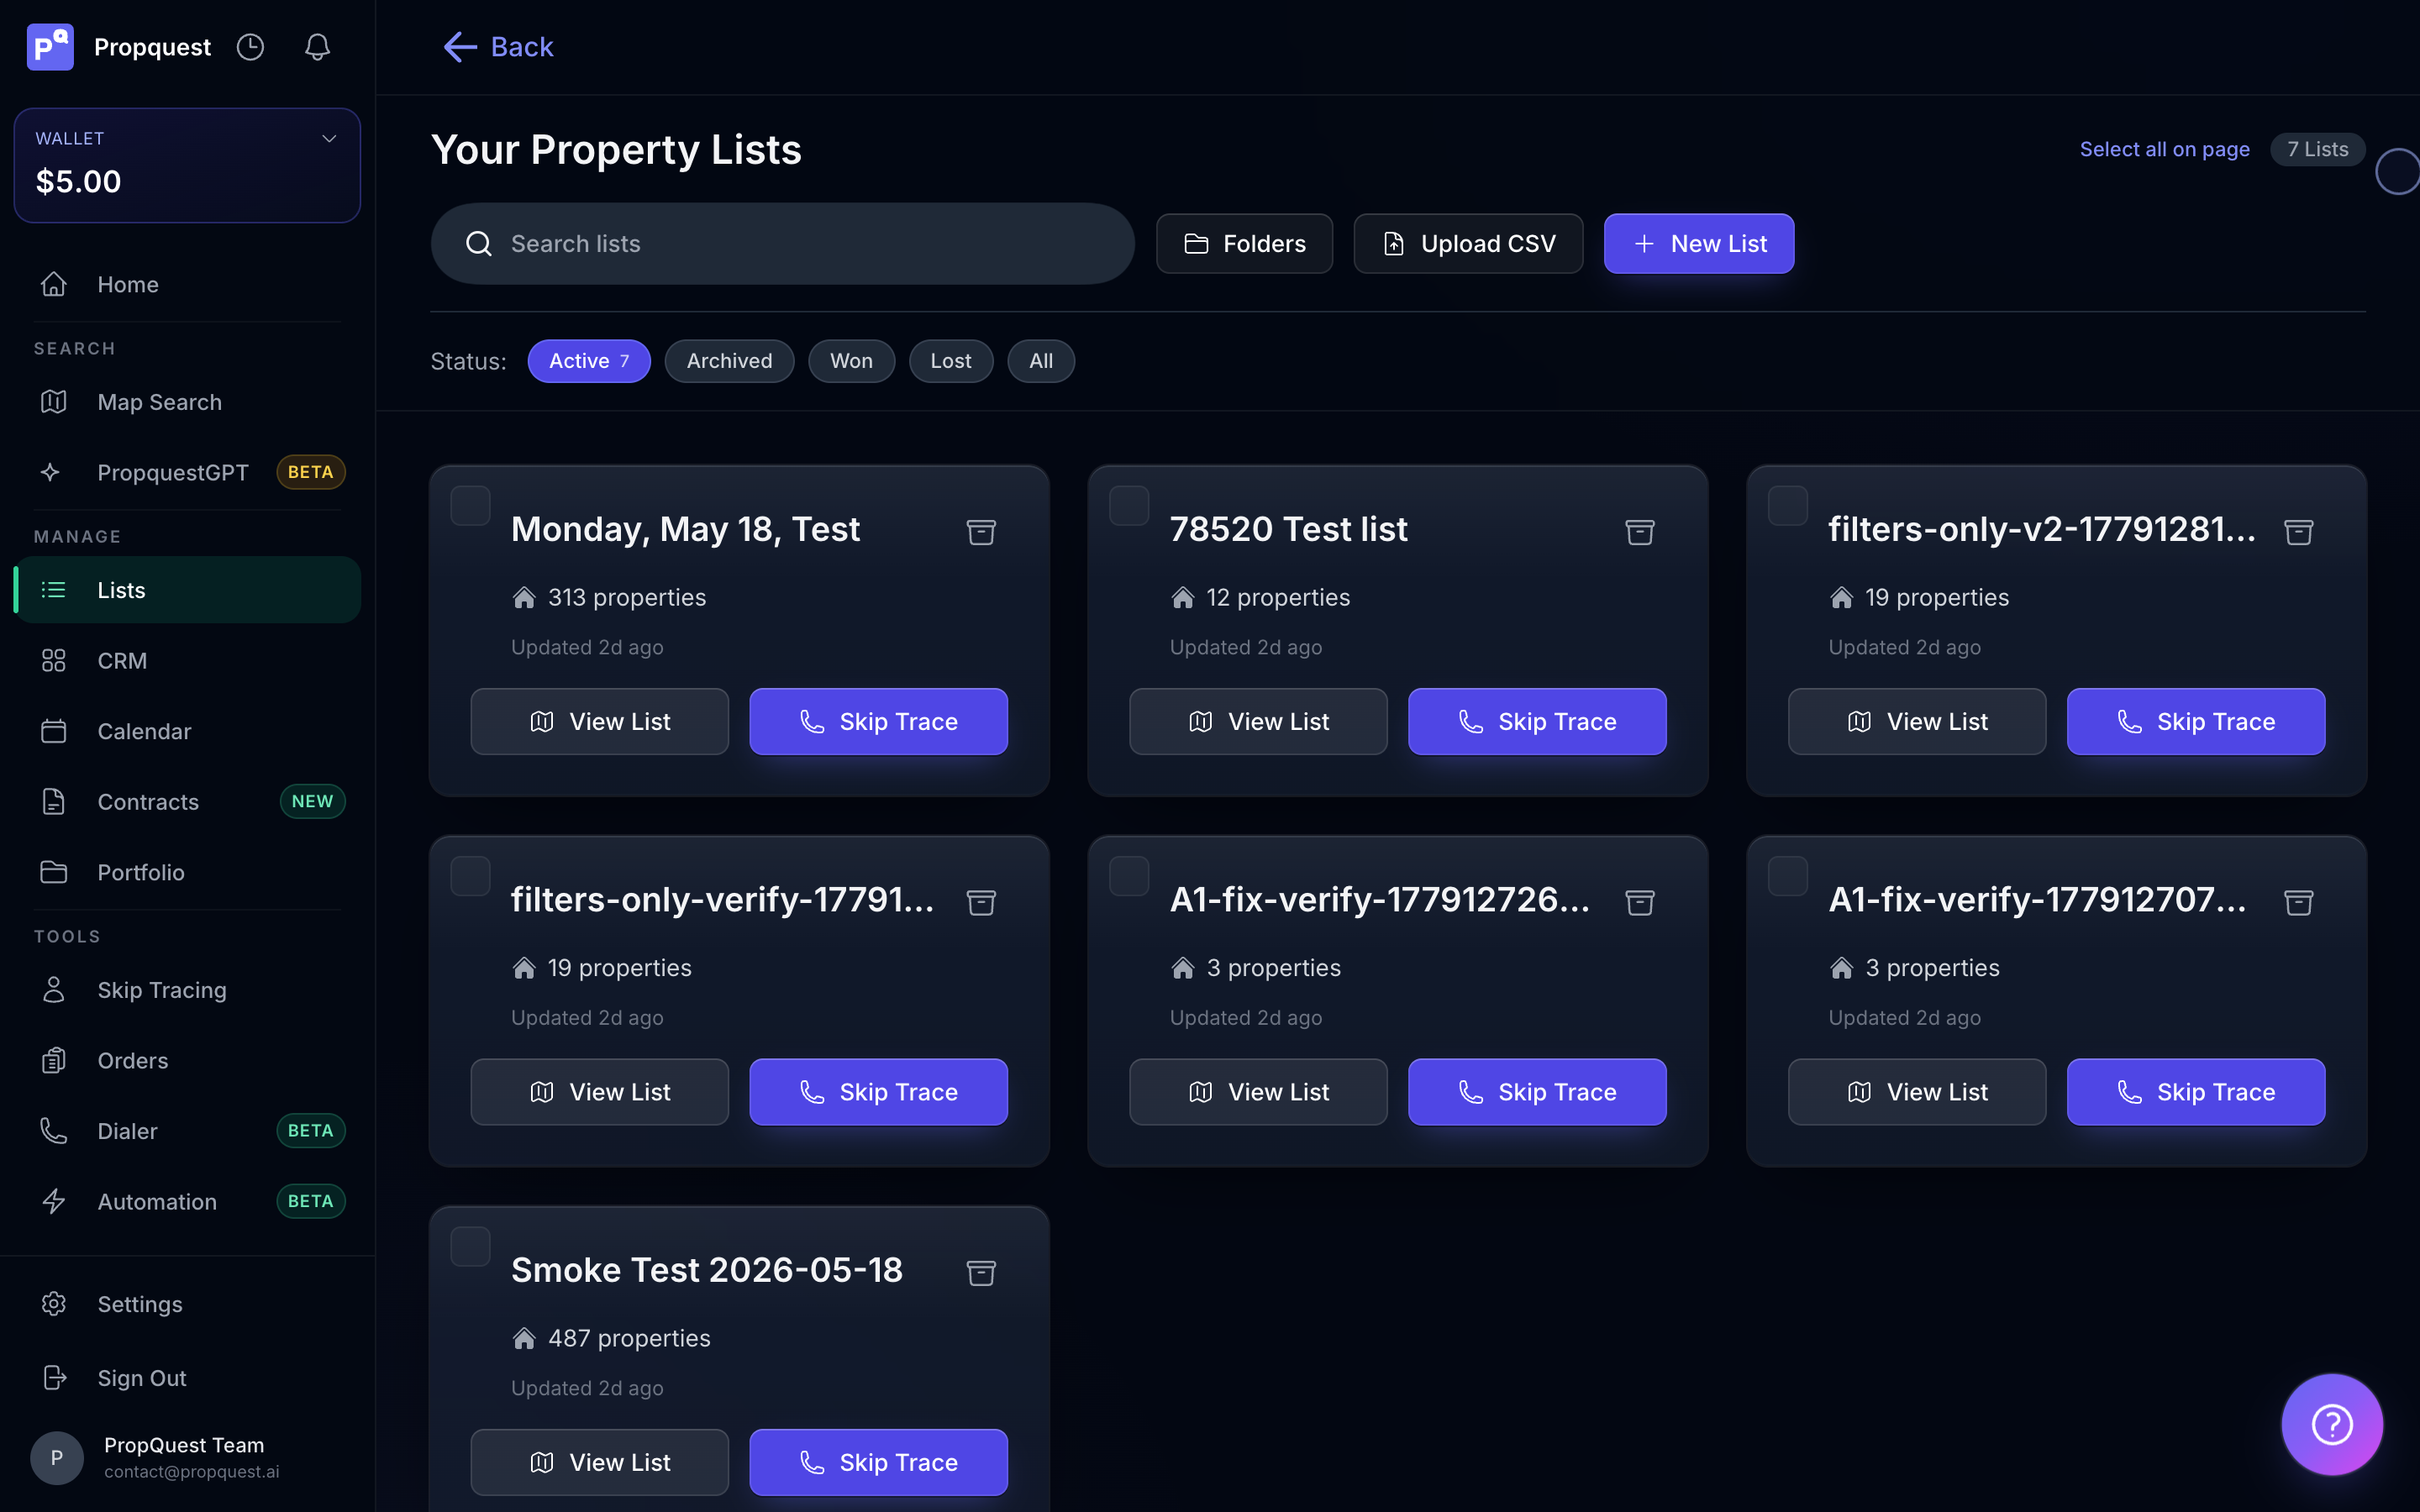
Lists are how you group properties — by neighborhood, strategy (e.g. "vacant land flips"), or whatever organizing principle keeps you sane. From the dashboard:
- Hit New list, give it a name and an optional strategy tag.
- Open Property Search, draw a radius or pick a polygon, apply your filters (absentee, equity %, year built, etc.).
- Save the results into your list — or save the SEARCH so it re-runs when new data hits.
Connect your sending email
If you plan to send LOIs from your own address rather than a generic PropQuest sender, link Gmail or Outlook from Settings → Integrations. We use OAuth — your password never touches our servers.
Linked accounts send LOIs, follow-up emails, and automation messages as you, with full thread visibility back in PropQuest. Disconnect from the same screen if you ever rotate addresses.
Set your buyer entity
Open Settings → Buyer entity and fill in your LLC name, default EMD %, preferred closing window (e.g. 30 days), and signature block. Every contract template uses these defaults so you never re-type them.
If you operate multiple entities, add each as its own profile and pick one per-send. Switching entity mid-deal is one click in the contract modal — no template re-edit needed.
Invite teammates
Enterprise plans get a shared workspace with role-based permissions (Owner / Admin / Member / Read-only). Invite from Settings → Team with their email; they get a setup link and land on the same dashboard with shared lists, contacts, and the team wallet.
Per-user actions (LOIs sent, calls placed, credits spent) are logged with the actor's name — accountability without a separate admin dashboard.
What to do next
- Run a property report on the first house in your list — that's where the underwriting math lives.
- Connect your Gmail so LOIs send from your address.
- Add a skip-trace pack if you don't already have phone numbers for owners.
- Set up one automation (no-answer SMS follow-up is a good first one) so your dialer time compounds.
Stuck? Hit the chat widget in the bottom-right of any /app/* page, or read the rest of this help center — most workflow questions have a 2-min article waiting.